More Cards & a Tutorial
By Holly - 8/22/2011 08:45:00 PM
As you can probably tell from these cards, I am more than ready for Fall!
Although we'll be enjoying the last few weeks of summer in sunny California, so it won't be all bad :)
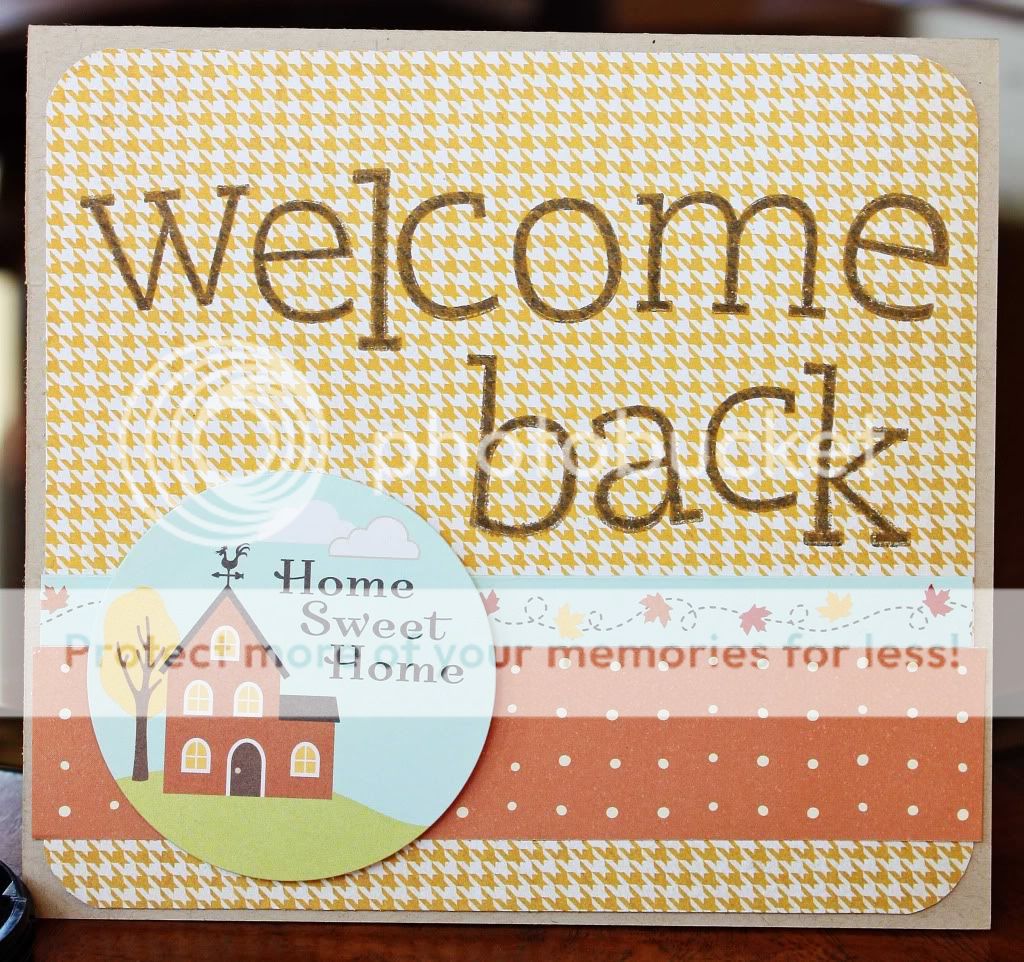


This final card I made using a sketch from CARDS Magazine.

I don't have a scalloped circle punch or a flower punch,
so I improvised and came up with a new way to make a flower.
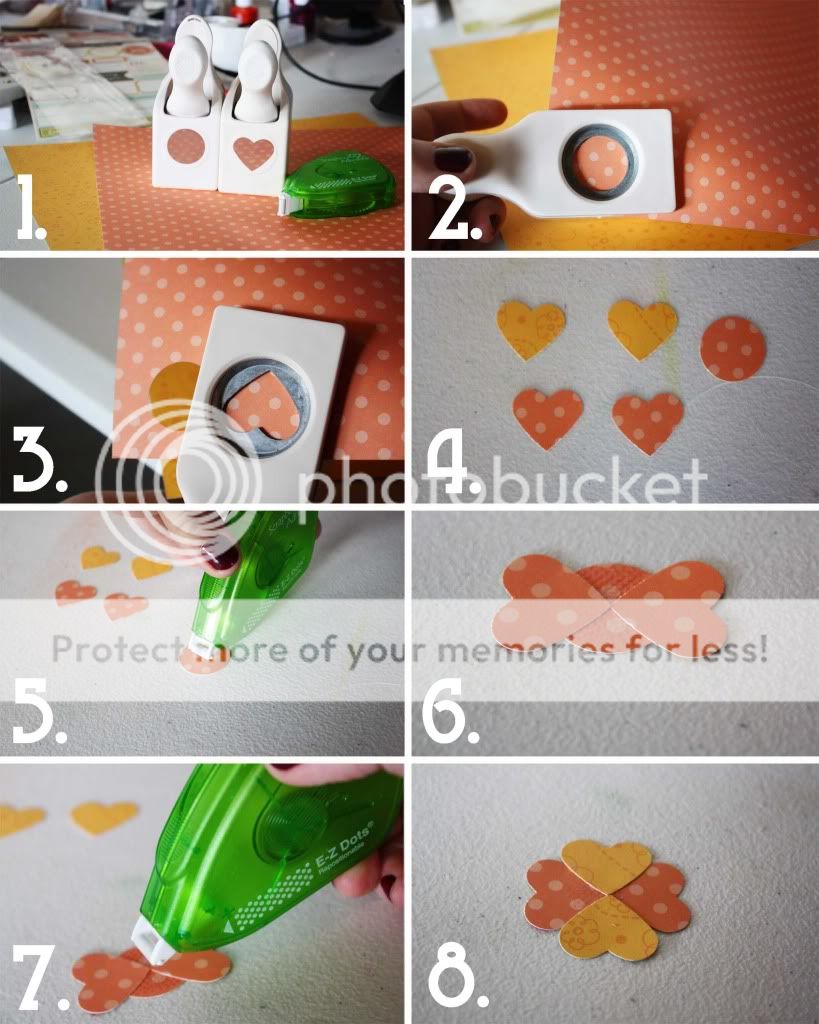
1.You will need 1" circle punch (Martha Stewart), a heart punch (Martha Stewart), adhesive, patterned paper or cardstock. Optional - buttons, brads or other circular embellishment
2. Punch one circle
3. Punch 4 hearts. You can use all the same papers or different.
4. Figure out how you want to arrange them. (I only used to colors so not a lot of choices for me)
5. Cover the circle with adhesive.
6. Add your first two hearts, pointed end touching each other.
7. Add a bit more adhesive.
8. Add the other two hearts, pointed ends touching.
Now you can be done here, but I wanted to add a bit more depth to mine.

9. Options I thought of were, another punched circle, buttons, brads...etc.
10. I layered a coordinating punched circle, a button and some twine. Voila! You've got a fun little flower for your projects. If you had an electronic die cutter, you could make these in all sorts of sizes.
XOXO,
Holly & Co,


2 comments